Desktop Alarm Clock
Project Overview & Goal
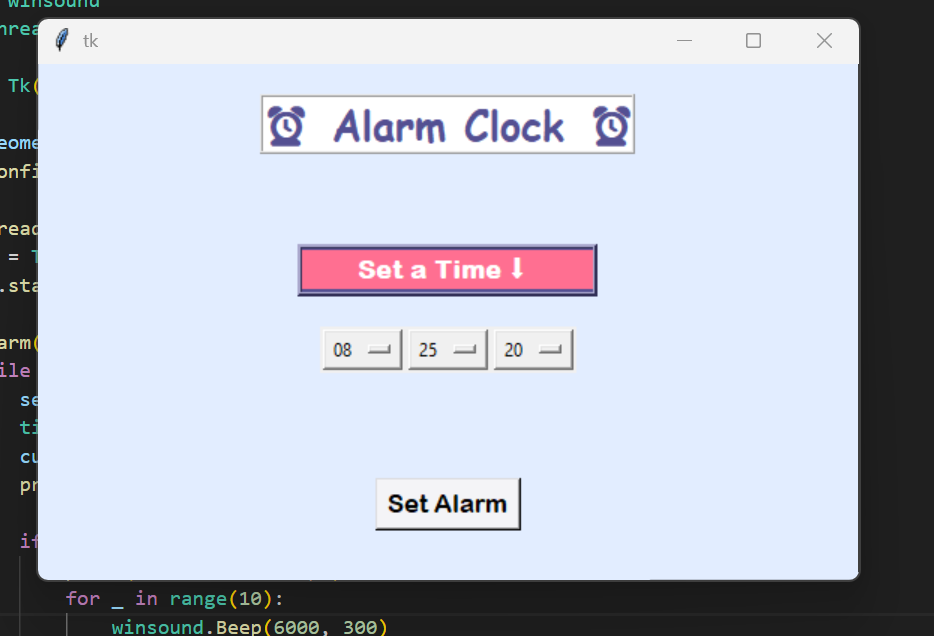
For this project, I aimed to develop a desktop-based alarm clock application using Python and Tkinter that allows users to set a specific hour, minute, and second for an alarm. When the system time matches the selected time, the application triggers a sound alert.
The goal of this project was to understand:
GUI development in Python
Real-time time tracking
Multithreading
System level sound integration
The Problem Solved
Many beginner python projects focus only on console programs.
I wanted to build something that:
Has a graphical interface
Interacts with a system clock
Runs continuously without freezing
Triggers a real-world action (sound alert)
This project helped me move from basic scripts to interactive event-driven desktop applications
Visuals & Demo
Language Used
Python
Libraries Used
tkinter: GUI creation
datetime: Accessing current system time
time: Delays and sleep intervals
threading: Running alarm logic without freezing UI
winsound: Generating sound alerts (Windows)
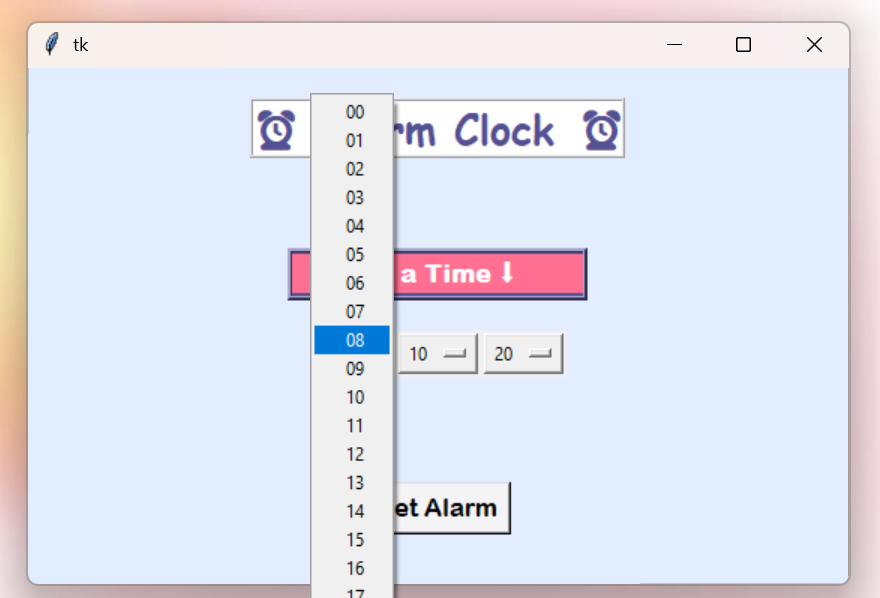
This section allows the user to choose the hour for their alarm. I designed this feature so users can easily select the hour they want their alarm to ring. The hour options range from 00 to 24, allowing the user to set the alarm for any time throughout the day. Presenting the hours in this format helps keep the interface clear and consistent with a 24 hour time system, which avoids confusion between AM and PM. When the user clicks on the hour selector, they can scroll through the available options and choose the exact hour they want. Once selected, the chosen value is stored and used later when the alarm time is checked against the current time, for the alarm to ring.
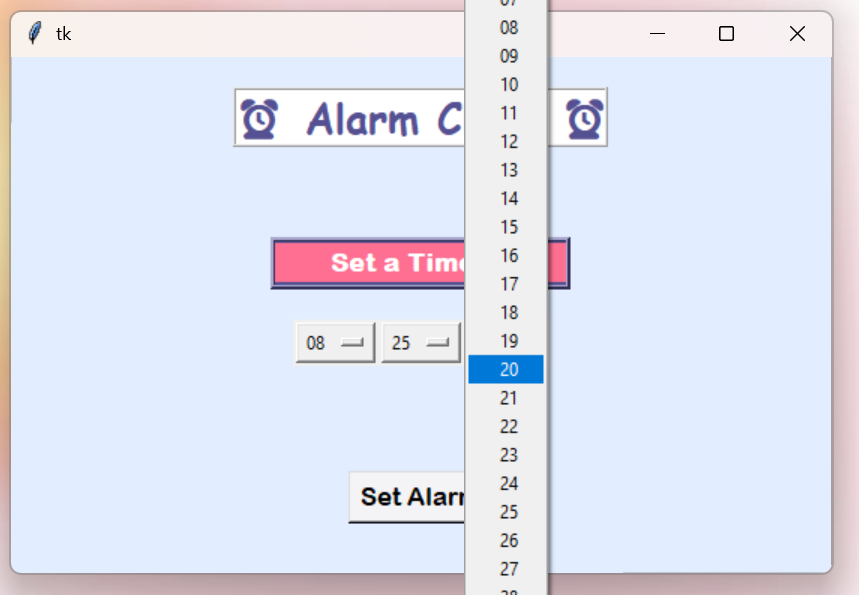
This section allows the user to select the minutes for their alarm time. After choosing the hour, the user can set the exact minute they want the alarm to ring. The minute options range from 01 to 60, allowing the user to specify the time more precisely. This works together with the hour selector so the user can fully customize the alarm time. When the user opens the minute selector, they can scroll through the available values and choose the minute that matches the time they want. Once selected, this value is stored along with the chosen hour so the system knows the exact moment the alarm should trigger.
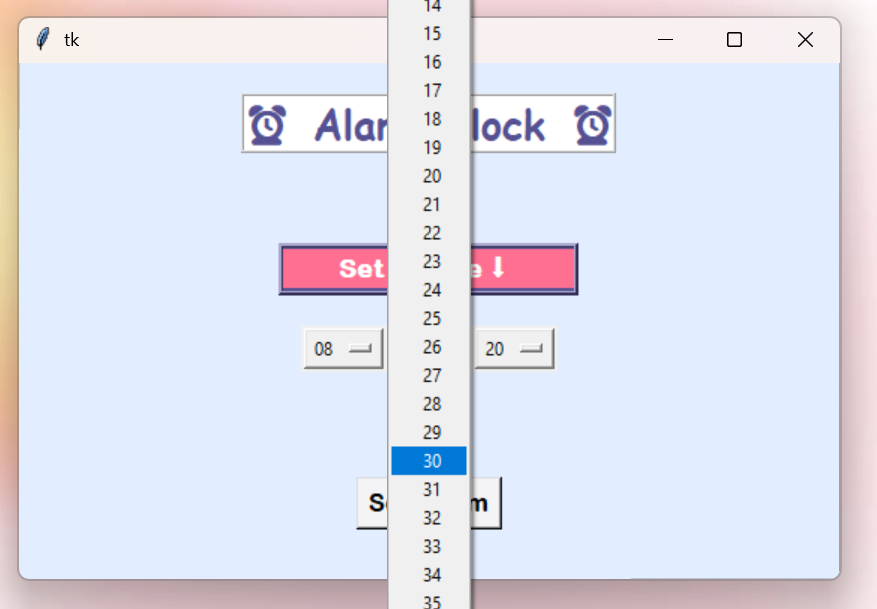
In this section of the alarm clock, users can choose the seconds for their alarm time. After selecting the hour and minutes, the user can also choose the exact seconds for the alarm. The options range from 01 to 60 seconds, allowing the alarm to be set with greater precision. This means the user is able to define the exact moment they want the alarm to ring. When the user opens the seconds selector, they can scroll through the list and pick the desired value. This selected value is then stored together with the chosen hour and minute to form the complete alarm time. I included the seconds option to make the alarm clock more detailed and customizable, ensuring the alarm can be triggered at a very specific moment rather than just at the hour and minute level.
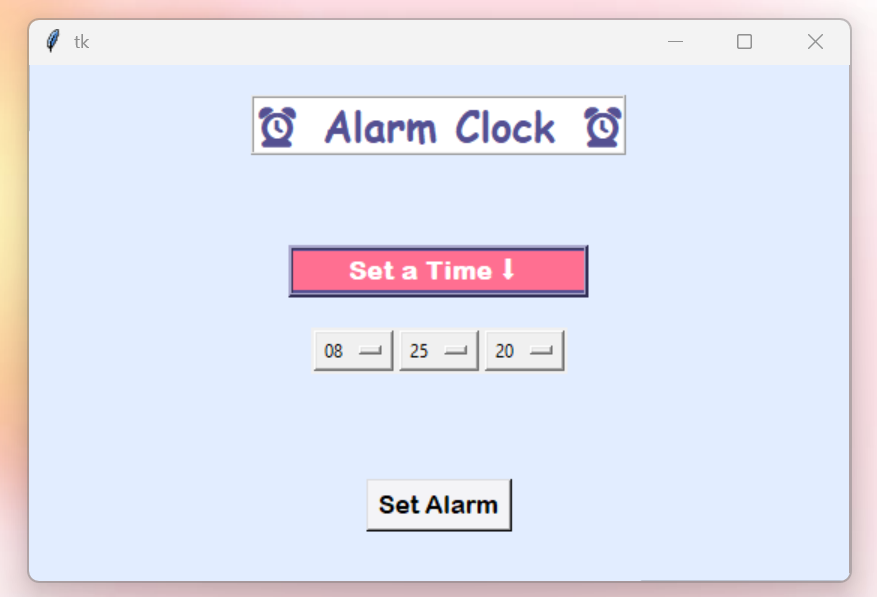
Once the user has selected the hour, minute, and second, they can press the Set Alarm button to activate the alarm. After pressing the button, the application stores the selected time and continuously checks the current time against it. When the current time matches the chosen alarm time, the system triggers the alarm sound. I made the alarm sound play 15 short beeps in a row to make sure the user notices it. The beeps will play for 500 milliseconds at 6000 hertz to ensure the alarm is audible and hard to miss. I designed it so that the alarm is simple, reliable, and clearly alerts the user exactly when the time arrives.
Role & Contributions
Designed and implemented the complete GUI layout using Tkinter
Created dropdown menus for hour, minute and second selection
Built real time clock compariosn logic
Implemented multithreading to prevent UI freezing
Integrated system sound using 'winsound.Beep()'
Technical Approach
GUI constrcution module: I built the graphical interface using Python’s tkinter library instead of creating a simple console program. I used components like Frame, Label, OptionMenu, and Button to organise the layout. By using StringVar(), I was able to connect the dropdown menu selections (hour, minute, second) to the backend logic of the program.
Time Monitoring Logic: To trigger the alarm at the correct moment, I needed a way to access the computer’s real-time clock. I used datetime.datetime.now() to retrieve the current system time and formatted it using strftime("%H:%M:%S") so it could be directly compared with the user’s selected alarm time.
I created a while loop that checks the time every second using time.sleep(1) and compares it with the user’s selected alarm time.
Multithreading implementation: When I first created the alarm using a continuous while loop, I realized that the GUI would stop responding because the program was constantly checking the time. The window would freeze since it could not handle both the interface and the time-checking logic at the same time.
To solve this, I used Python’s threading.Thread to run the alarm logic in a separate thread. This allowed the program to check the time in the background while keeping the GUI responsive.
Through this, I learned why background tasks are important in interactive applications and gained my first understanding of basic concurrency.
Sound Alert System: When the current time matches the alarm time, I used thewinsound.Beep() function to generate an audible alert. I repeated the sound multiple times with short delays to ensure the user notices it.
Outcomes
Built a fully functional desktop alarm clock
Successfully implemented real-time tracking
Integrated multithreading to maintain UI responsiveness
Completed a complete GUI-based Python application
Strengthened understanding of various Python libraries
Skills I Developed
1. GUI Development with Python
Learned how to build graphical applications instead of just console programs.
2. Understanding Threads and how they function
Learned how to run tasks in the background without freezing the interface.
3. Working with System Time
Understood how to access and format real-time system clock data.
4. Logical Flow and Continuos Monitoring
Built a loop that continuously checks conditions and triggers actions.
5. User Input Handling
Connected dropdown menu selections to backend logic.
6. Thinking about System-Level Interaction
Explored how software interacts with the operating system (sound alerts)
The UX Design Process:
What I Did
Desktop Research
Ideation
Usability Testing
Development
Refinement
Tools Used
Paper Prototypes
Python
Tkinter
About Alarm Clock
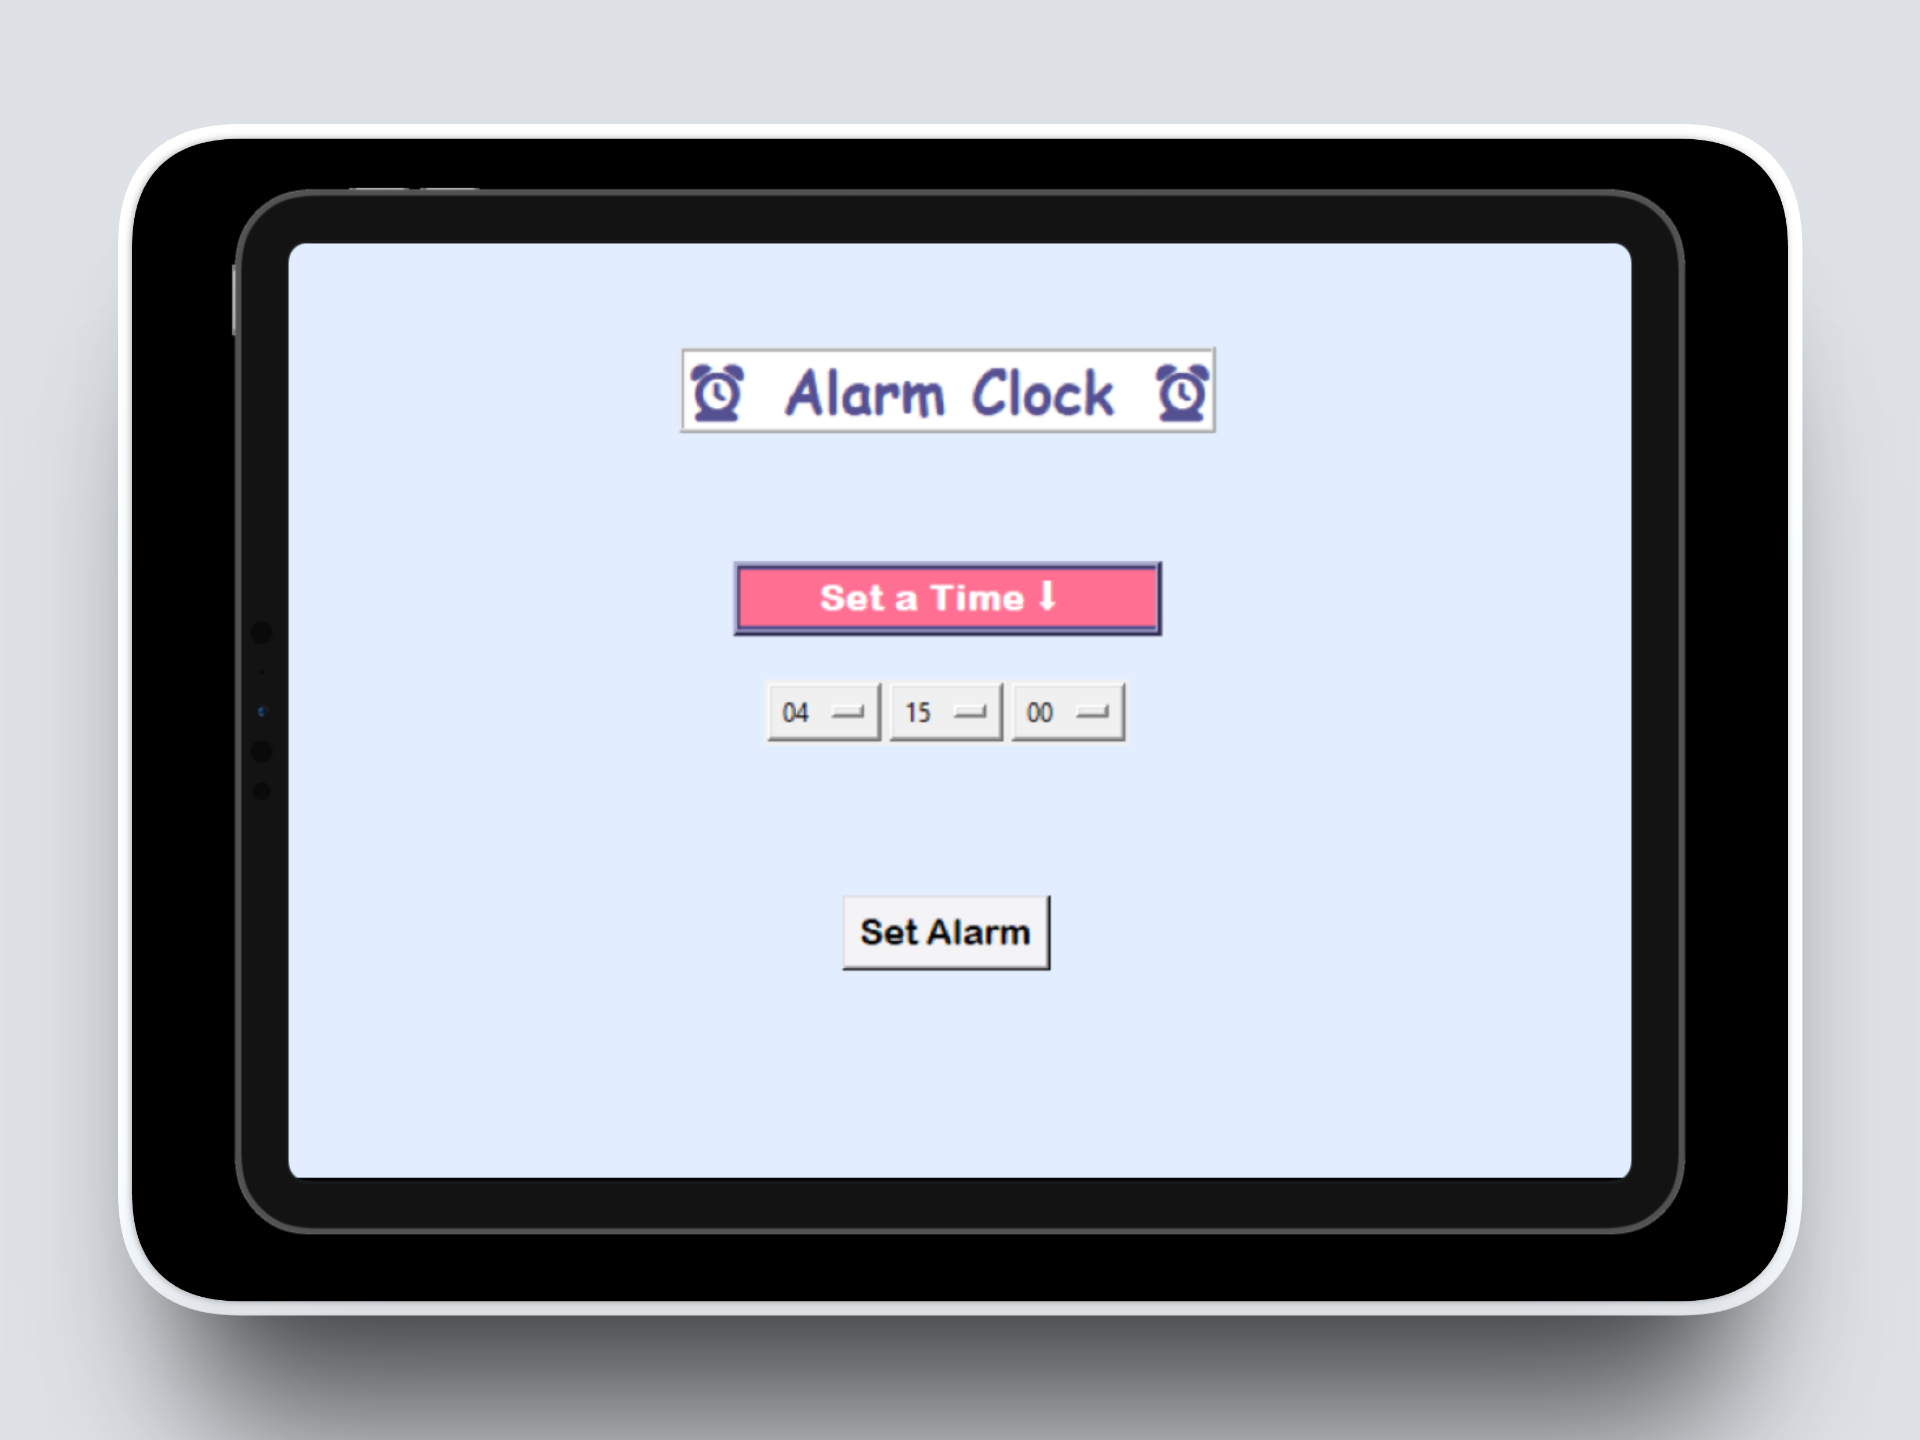
The Alarm Clock I designed is an interactive Python application that allows users to set a specific time for an alert. When the set time is reached, it notifies the user with a sound, helping manage reminders or alarms efficiently.
UX Research Goals
Time-based Alert System: Enable users to set a specific hour, minute, and second, and trigger a notification sound when that time is reached
User-Friendly Interface: Provide an easy-to-use graphical interface using Tkinter, allowing users to set and manage alarms without needing to interact with the console.
How I conducted Desktop Research
I conducted desktop research by gathering and analyzing existing sources such as articles, reports, and case studies from websites such as Reddit, Quora and Medium relevant to the project. This helped me identify trends, understand user needs, and inform design decisions without the need for direct fieldwork.
I also welcomed input from my friends and family on how they would design an alarm clock if given the choice. Most of them preferred a more visually appealing design with pastel colors, as they felt that all alarms serve the same basic function.
Ideation
I then conducted ideation by brainstorming and sketching multiple design solutions based on the insights gathered from desktop research. I used techniques like rough sketching to explore different layouts, features, and user flows, aiming to enhance the overall user experience.

Circuit, Oil on canvas 200cm x 130cm
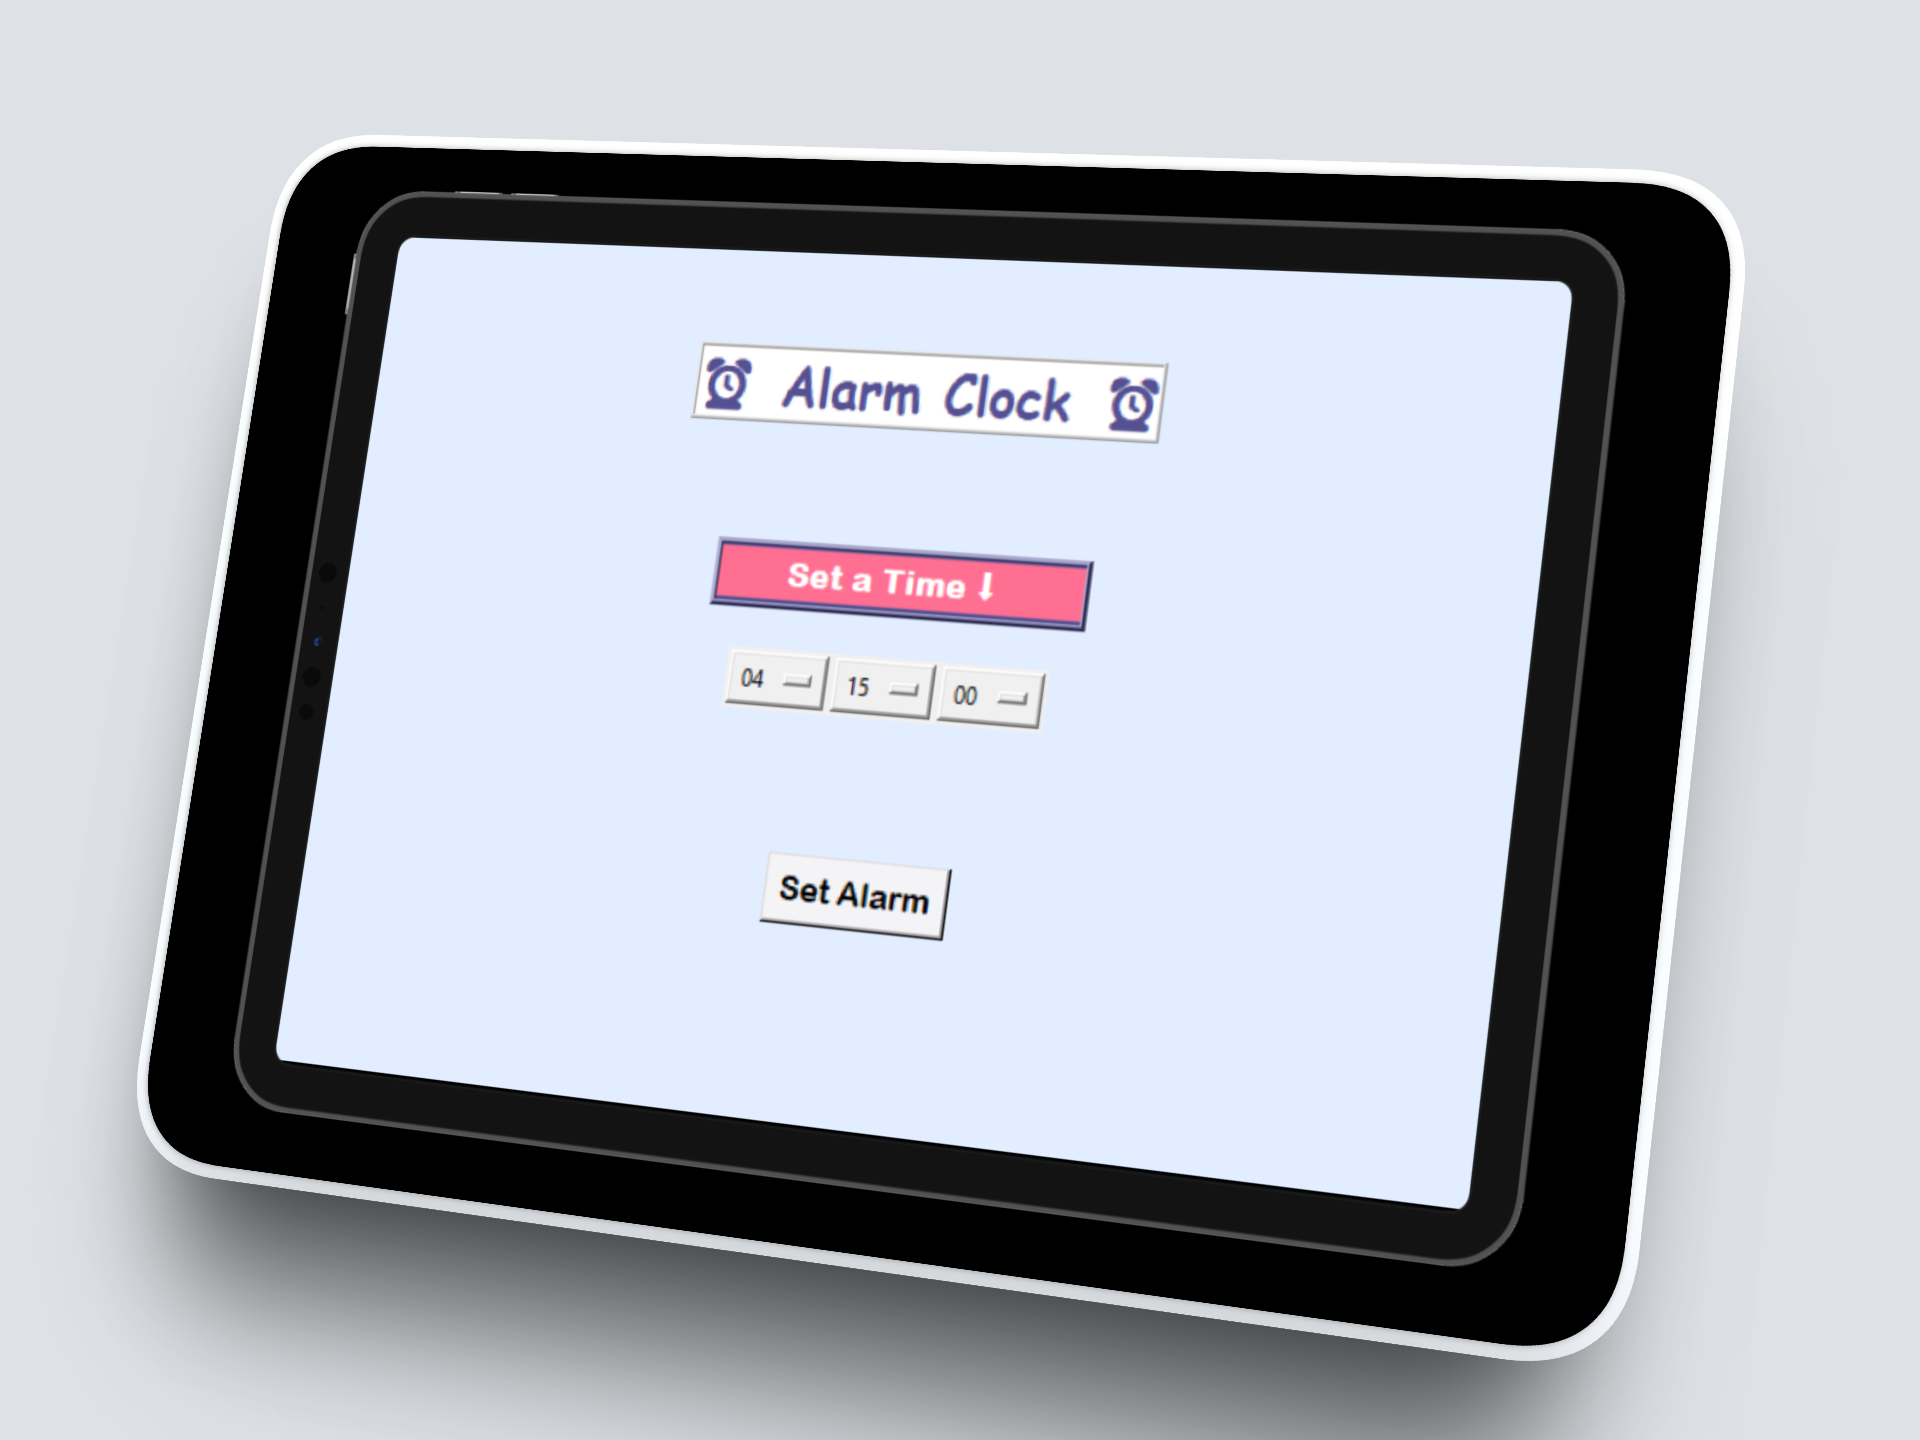
Final Product
Finally, I started my development stage by taking note of the feedback given and setting up the main interface using Tkinter, creating the dropdown menus for hours, minutes, and seconds, and implementing the logic to check the current time against the set alarm time.
One challenge I faced was getting the alarm to play a sound reliably. Initially, the program didn’t trigger any audio. I overcame this by using Python’s winsound.Beep() function, which allowed me to play a simple beep directly without needing external files. Another challenge was ensuring that the program could continuously check the time without freezing the interface. I solved this by running the alarm-checking function in a separate thread, allowing the GUI to remain responsive while waiting for the alarm time.
Conducting Usability Testing
Next, usability testing was conducted to evaluate the interface and functionality of the alarm clock.
Participant 1 noted that the interface was clear and easy to use, but suggested that the colors could be softer and more visually appealing to make the application more pleasant to interact with.
Participant 2 mentioned that setting the alarm was straightforward, but they experienced confusion when trying to set seconds, recommending clearer labeling or guidance for that input.
Participant 3 highlighted that while the alarm sound was effective, they preferred a repeated beep pattern to ensure the alarm was noticeable, suggesting a more persistent sound until the user acknowledged it.