Dynamic Mood Tracker with Data Analysis
Project Overview & Goal
For this project, I wanted to develop a web-based mood tracking application that allows users to log daily emotions and personal journal entries. The web app provides interactive visual feedback by dynamically changing the background based on mood selection and tracks a 7-day streak to encourage consistent use.
The Problem Solved
After talking to a few people, I noticed that many of them tend to struggle to monitor their emotions consistently, and existing mood tracking tools are often static or non-engaging. This web app addresses this by combining user-friendly interactivity with persistent journaling, allowing users to track their mood trends over time and stay motivated through streak tracking.
Visuals & Explanations
Languages Used
HTML
CSS
JavaScript
Tools & Concepts
DOM Manipulation (event listeners, dynamic styling)
Local Storage for Data Persistence
Interactive UI/UX Design (emoji-based mood selection, streak messages)
Responsive Layout & Hover effects
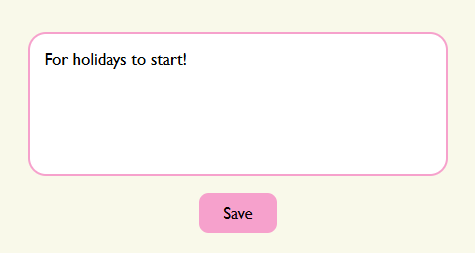
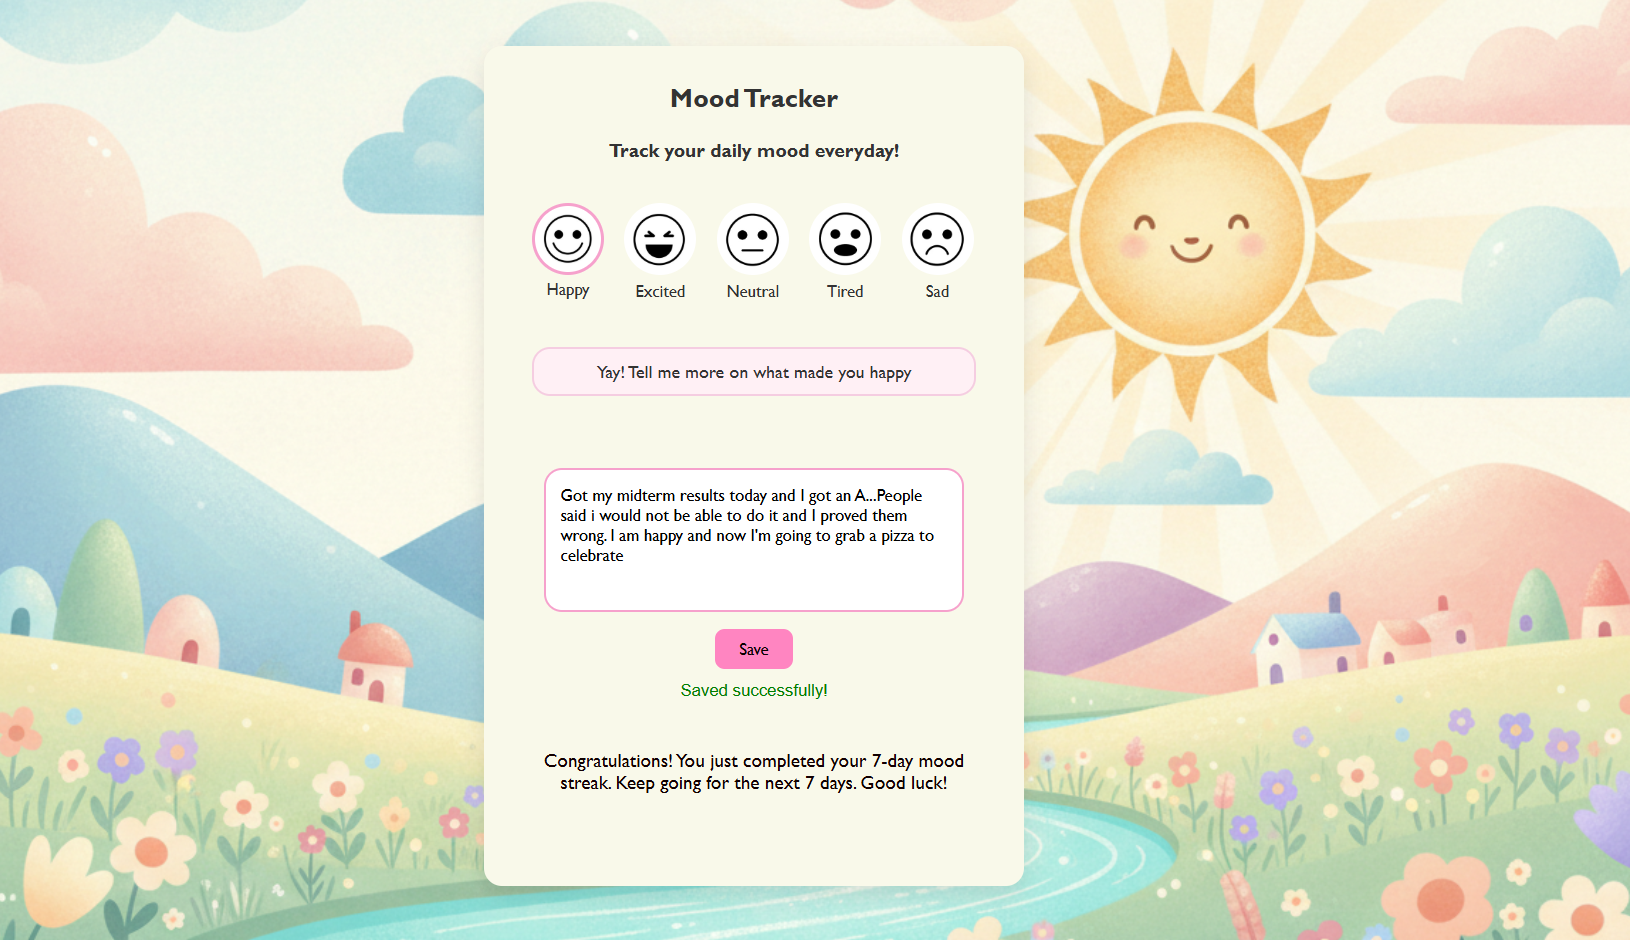
This section allows the user to type their personal thoughts or reflections into the journal input box and save the entry. After selecting a mood, the user can write about their thoughts, experiences, or feelings in the journal input box. I designed this section to give users a simple and comfortable space to express themselves. I ensured that the input box is large and easy to use so users can freely write as much as they want using a textarea element, which allows users to type multiple lines instead of being limited to a single line. Once the user finishes writing, they must click the save button to store their entry. Saving the entry confirms that the reflection has been recorded for that day. This step is important because the system only tracks the user’s progress after an entry has been saved. I designed the save feature to encourage consistent journaling habits. By requiring the user to actively save their entry, the application ensures that each reflection is intentionally recorded. After saving, the entry contributes to the user’s streak, which motivates them to continue using the mood tracker daily.
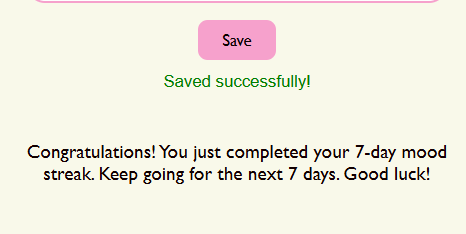
After the user saves their journal entry, a green confirmation message appears to show that the entry has been successfully saved. Immediately after, the streak notification updates and shows how many consecutive days the user has written a journal entry. When the user finishes writing their reflection and clicks the Save button, the application first stores the journal entry, so it is recorded for that day. Once the entry is saved, a green confirmation message appears to reassure the user that their reflection has been successfully recorded. I implemented this by updating the text content of a message element and changing its color to green.
After displaying the confirmation message, the system then checks and updates the user’s journaling streak. Each time a valid journal entry is saved, the streak counter increases by one and the updated number of days is shown to the user. This was done by retrieving the current streak value, increasing it, and then displaying the updated result on the page. I added this feature because I wanted the application to provide immediate feedback and motivation. The success message confirms that the entry was saved, while the streak notification encourages users to continue journaling daily and build a consistent habit of reflecting on their emotions.
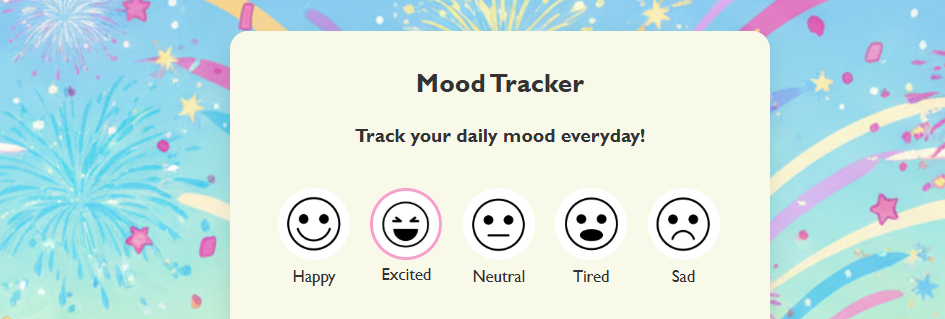
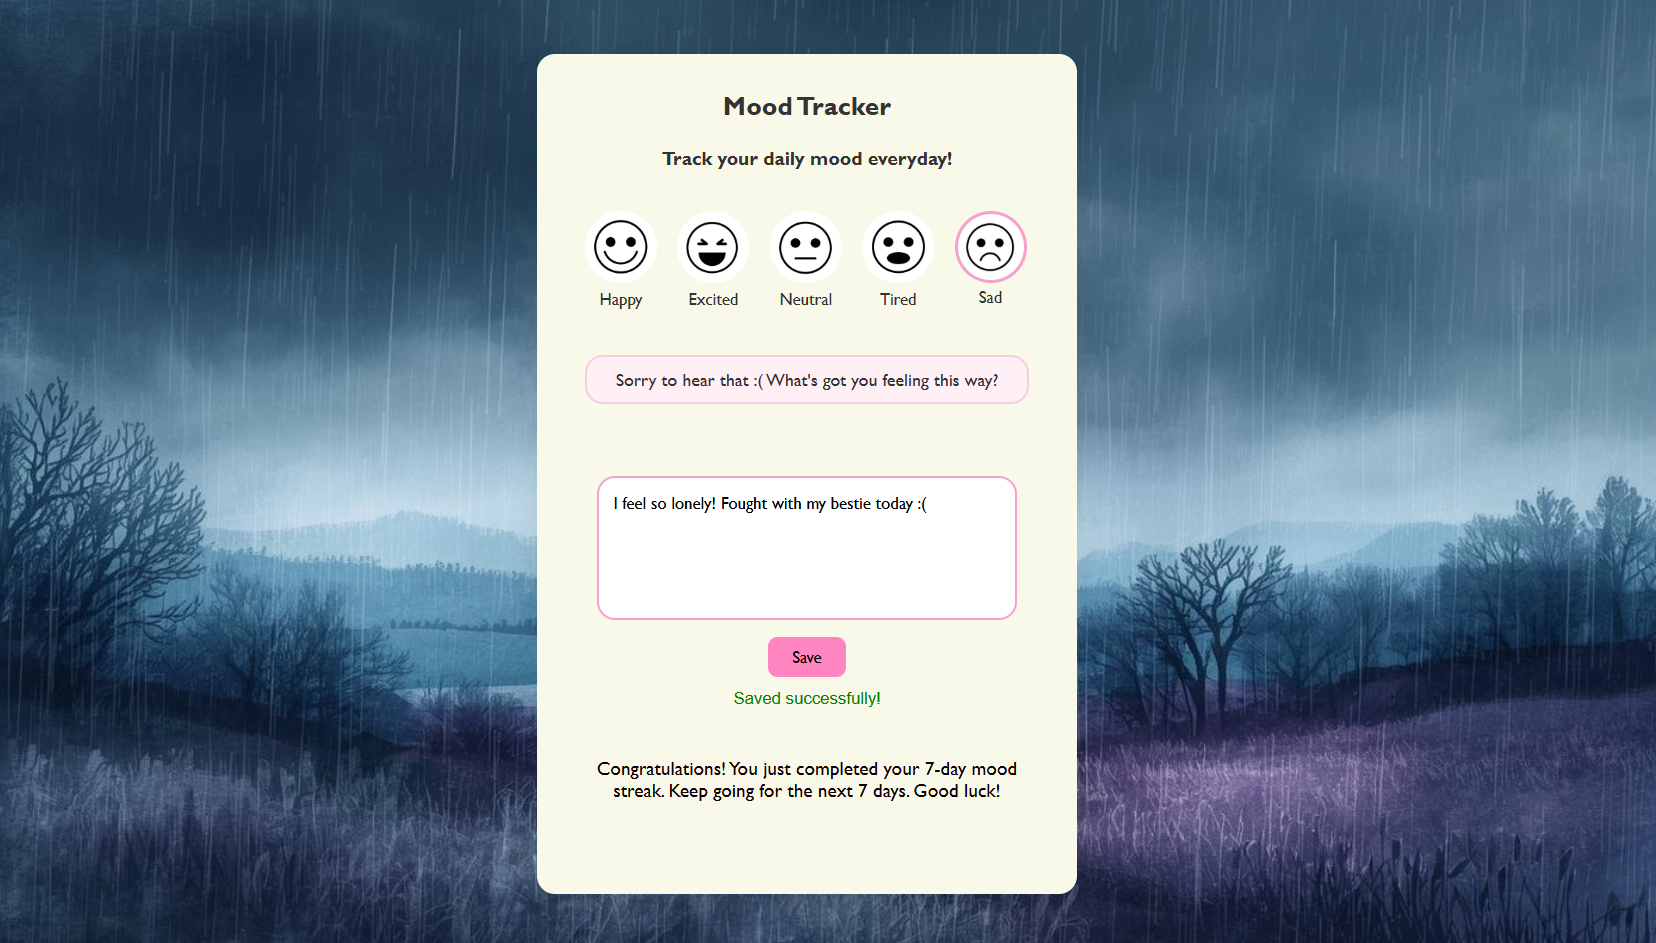
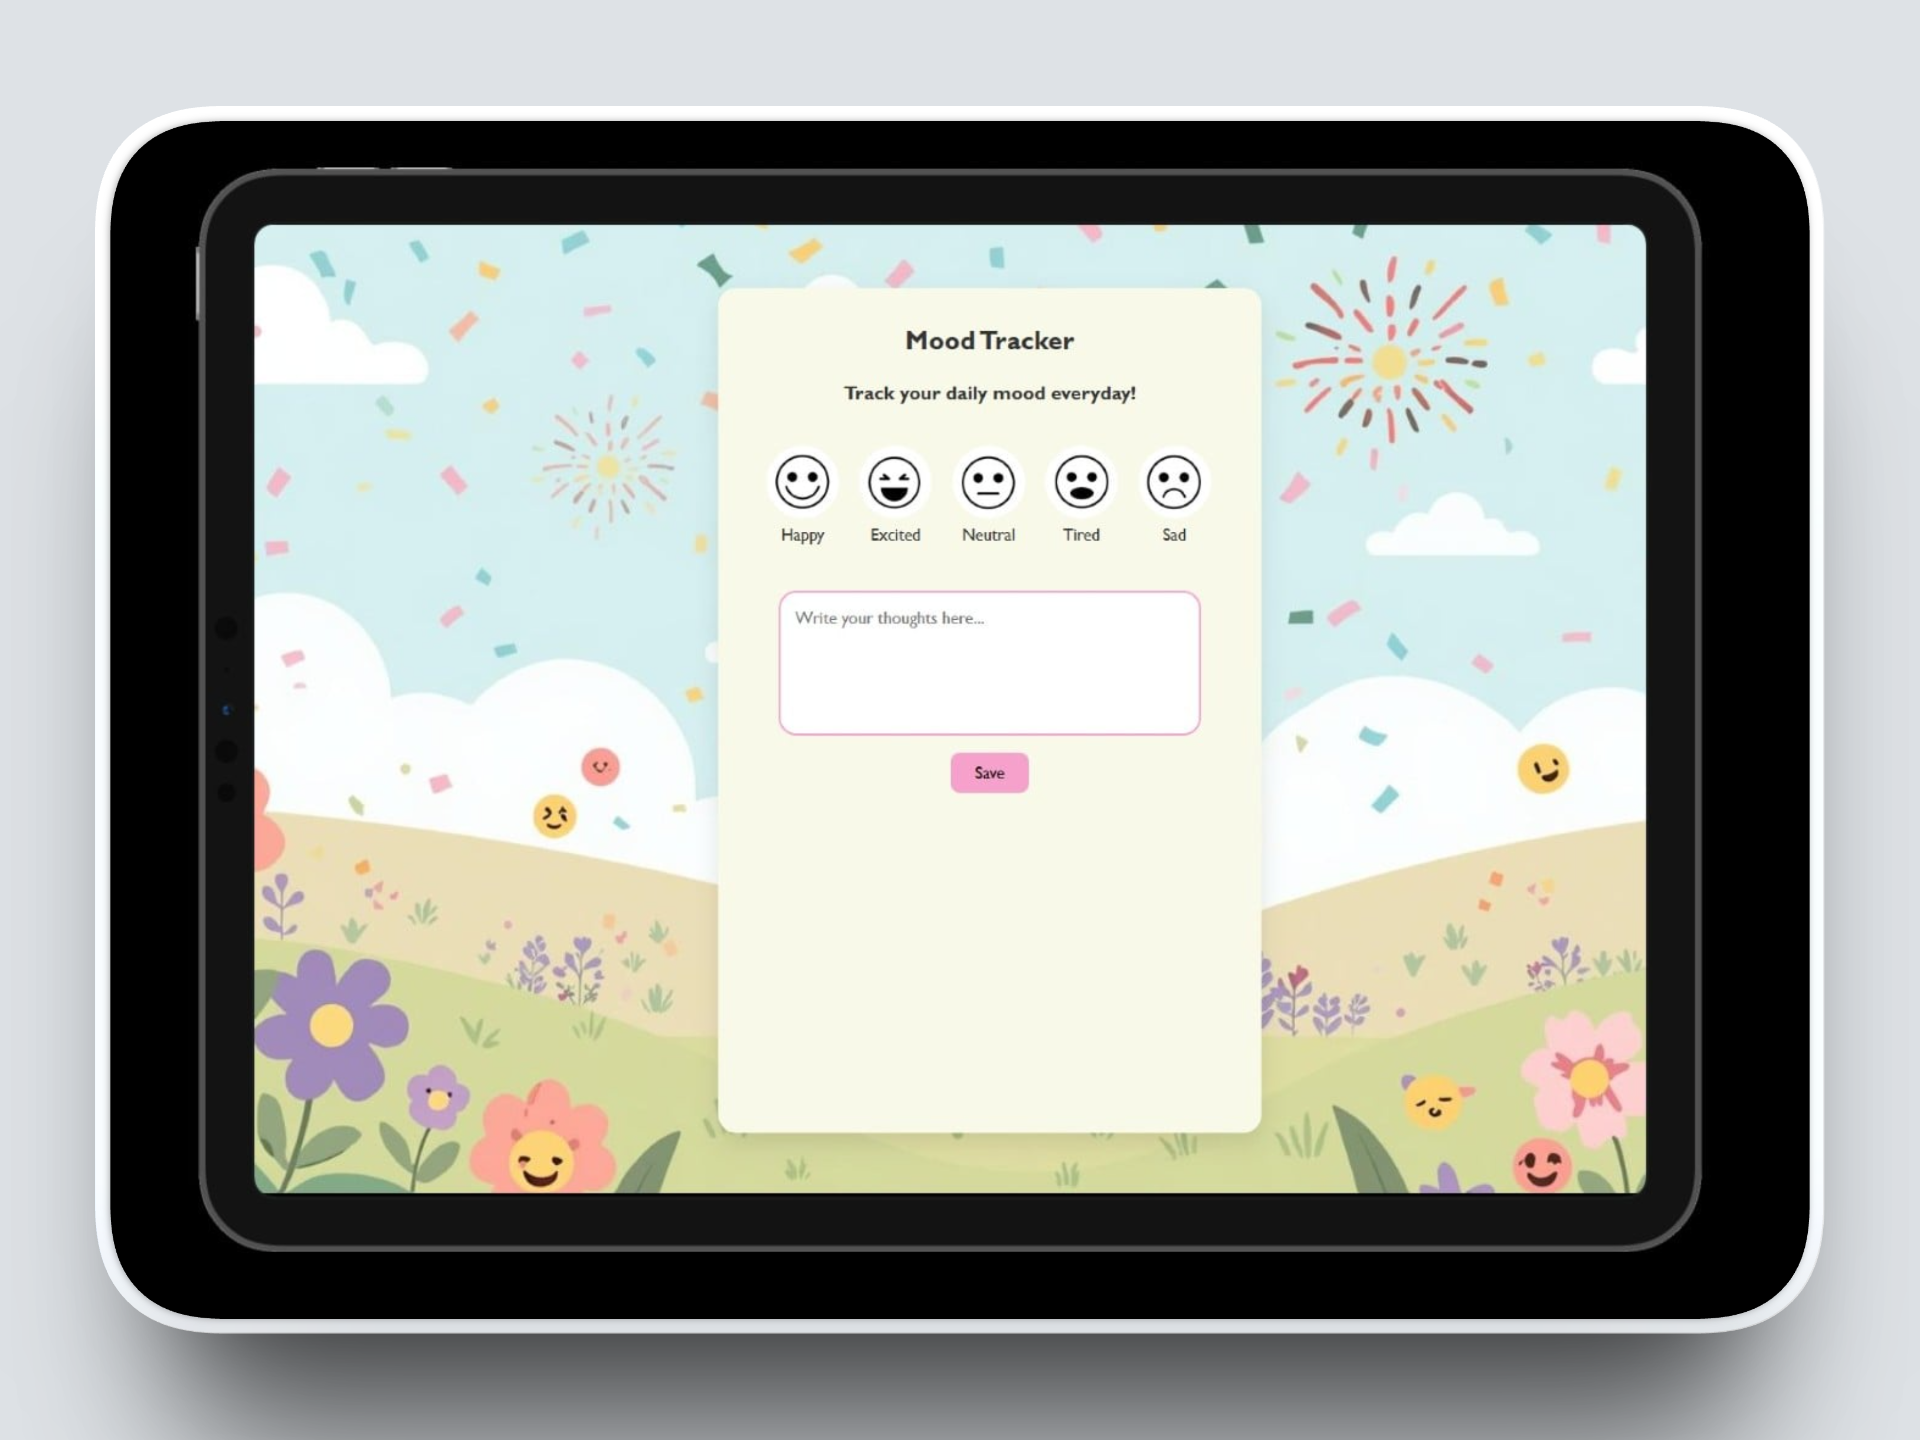
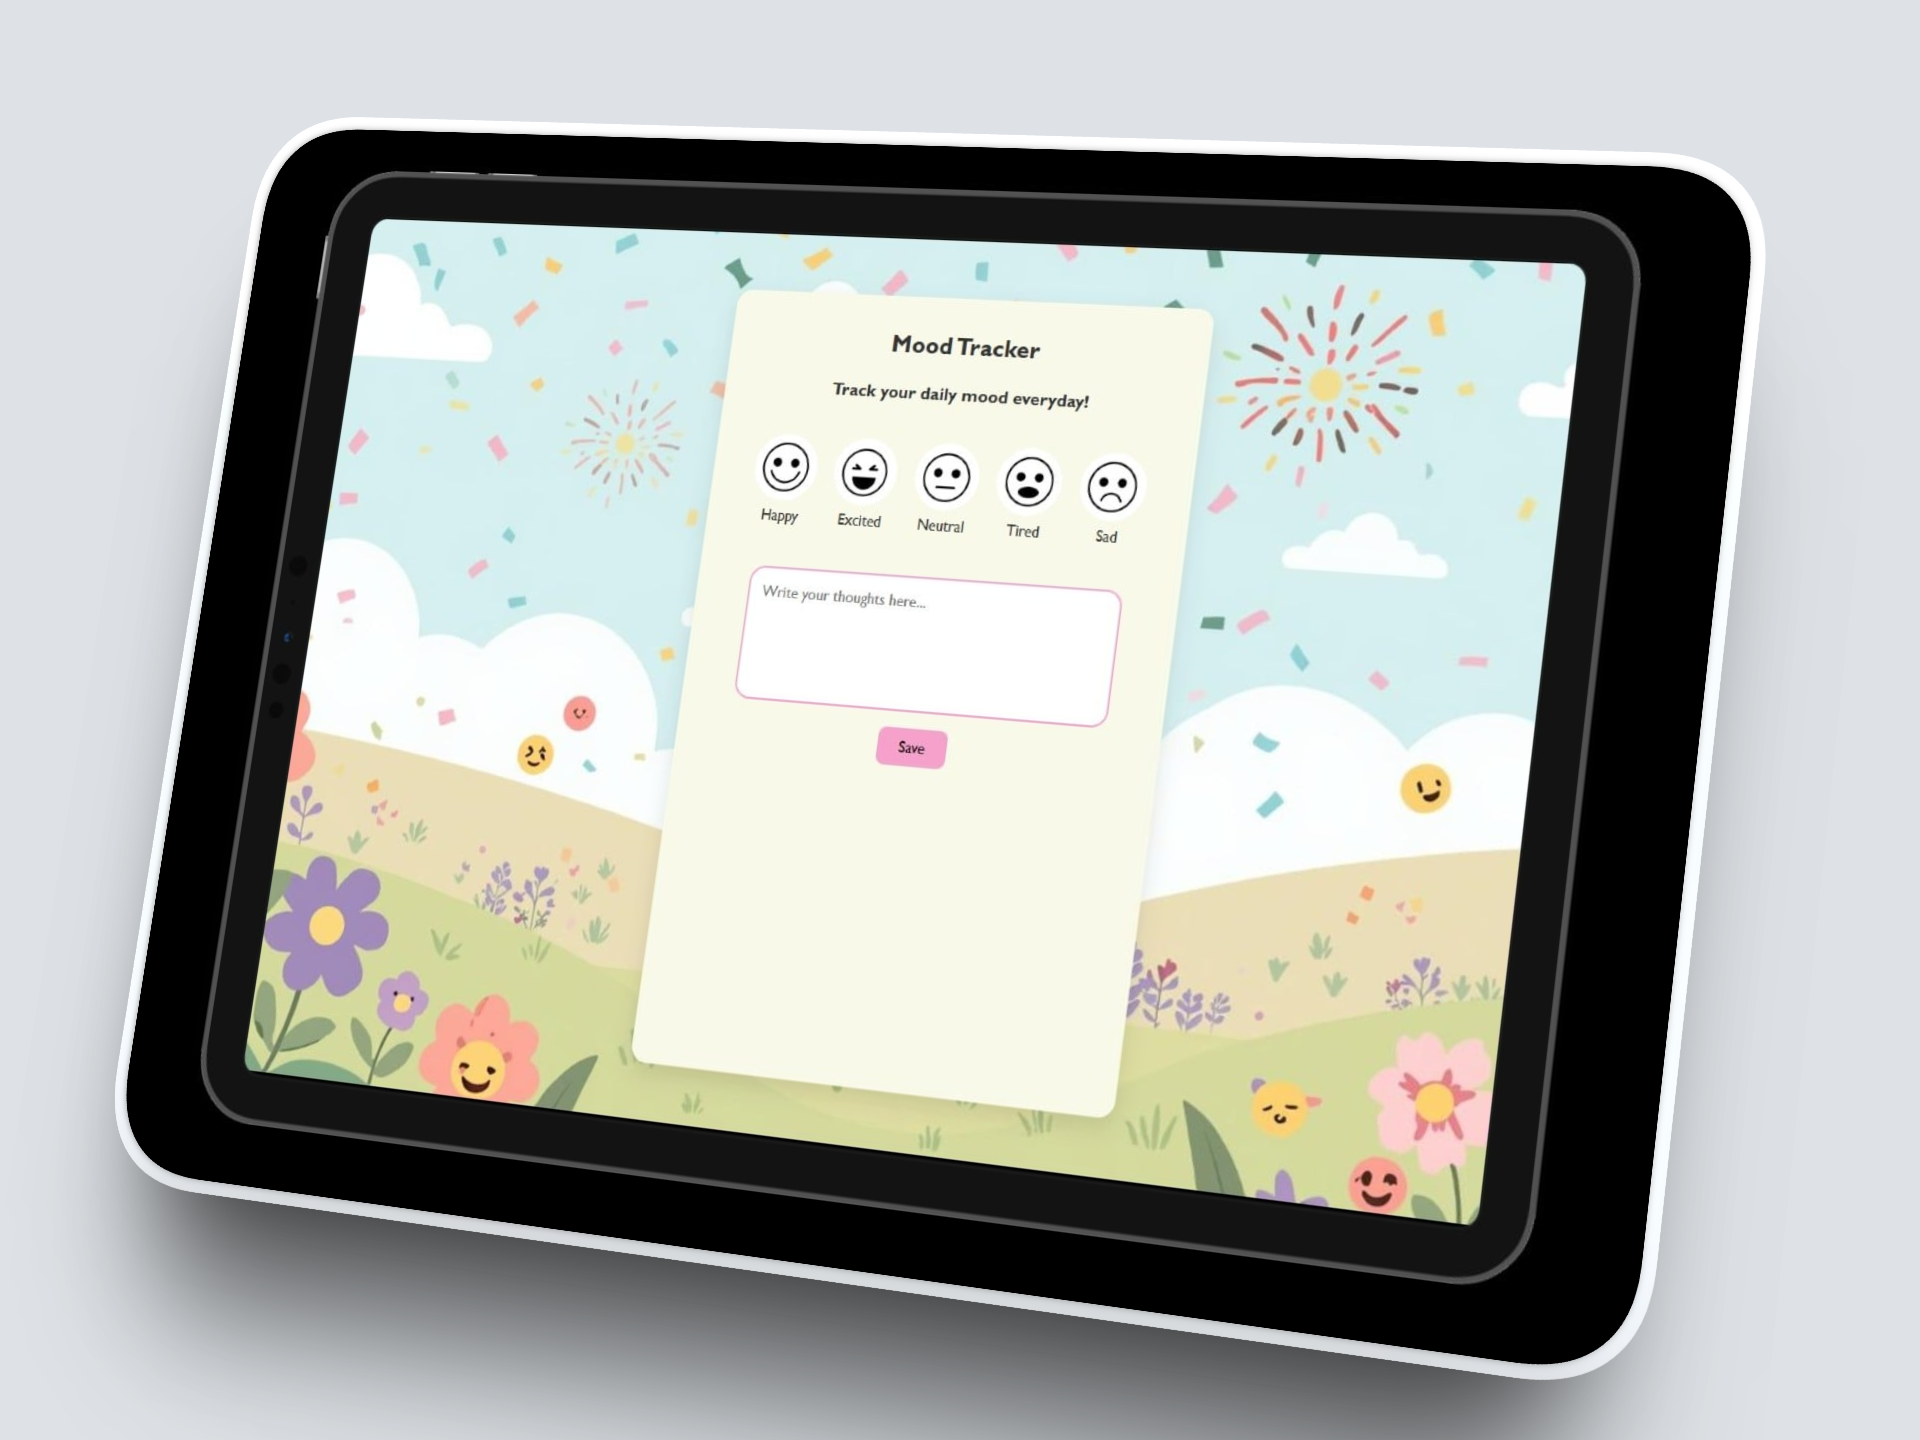
This section allows users to select how they are feeling using emoji buttons. I created clickable emoji buttons so users can quickly choose their mood based on how they're feeling at the moment. When a user selects a specific mood, the background image changes dynamically based on the mood that has been selected. I used JavaScript to update the page styling dynamically. Each emoji stores a mood value using dataset attributes, and when clicked, the script changes the background to match the selected mood.
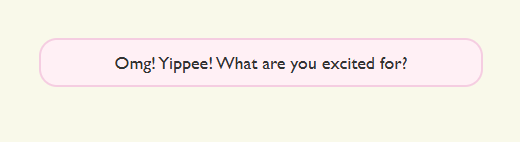
After the user selects a mood emoji, a motivational or supportive message appears on the screen. I designed this feature to make the mood tracker feel more interactive and supportive. When a user selects how they are feeling, the system automatically displays a message that matches the chosen emotion. For example, if a user selectes the 'excited' mood they will get an encouraging message like the one showed above. The message only appears after the user chooses a mood, which helps guide them into the next step of the experience This creates a smoother flow where the user first identifies their emotion, then receives a prompt that encourages them to reflect more deeply. I added this feature because I wanted the application to feel more personal and supportive, rather than just a simple mood logging tool. The quotes act as small prompts that help users think about their feelings before writing about their day.
Data Insights Collected
In addition to that, I also developed a Python-based mood analytics tool that collects, processes, and visualizes mood data in an intuitive interface. The goal of this project was to transform simple daily inputs into meaningful insights through data visualization and user-centered design.
Using Python, Pandas, Tkinter, and Matplotlib, the system reads mood entries from a structured dataset and displays them in an interactive interface. The application processes the data to identify mood frequencies and patterns, allowing users to quickly understand trends through automatically generated charts and tables. By combining data analysis with a clean graphical interface, the project demonstrates how raw data can be converted into clear and accessible visual insights.
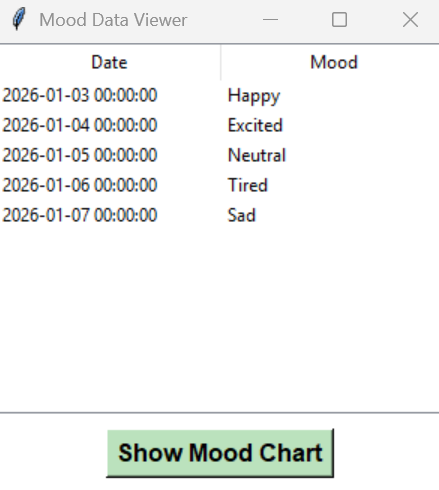
The entries are collected from an excel sheet and then displayed in a structured table interface, making it easy to view and organize mood records clearly. Users can interact with the “Show Mood Chart” button to generate a visual representation of the data, which displays the frequency of each recorded mood.
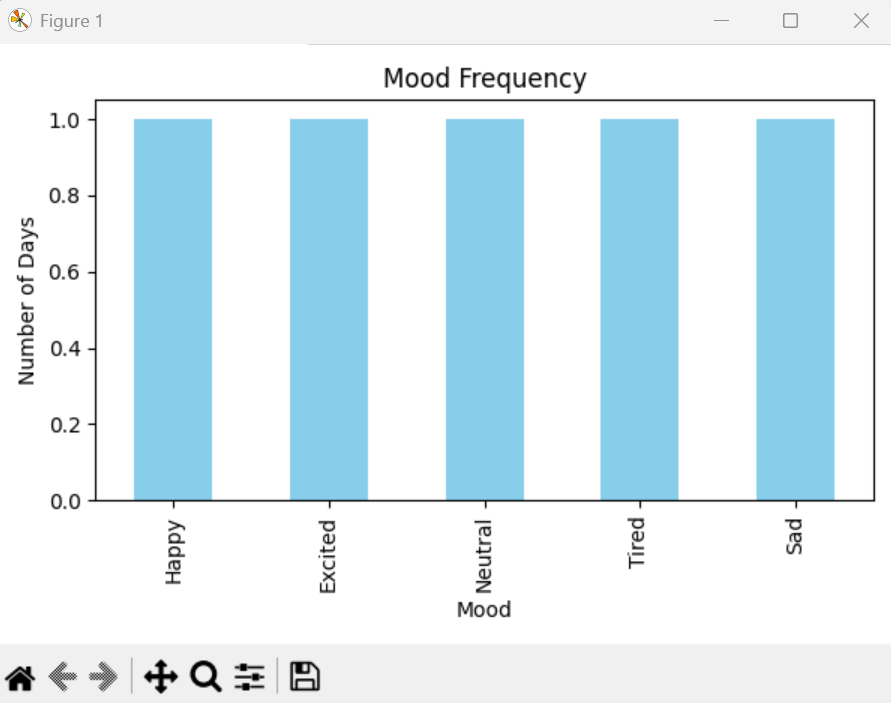
This visualization helps transform the collected data into clear insights, through a bar graph format allowing users to quickly understand mood trends and patterns.
A bar graph was chosen because it clearly shows how often each mood appears in the dataset. It makes it easy to compare the frequency of different moods at a glance, allowing users to quickly see which moods occur the most. Bar graphs are also simple, intuitive, and widely used for categorical data, such as mood labels like Happy, Neutral, or Sad. This makes the visualization easy to understand for any user, even without prior experience interpreting data charts.
Roles & Contributions
Designed and implemented front-end architecture
Built interactive mood selection module: emoji selection updates background and displays motivational quotes
Implemented persistent journaling using 'localStorage' for text input and streak data.
Developed streak tracking logic to encourage users to log their mood daily over a 7-day period.
Enhanced user experience with smooth transitions, responsive layout and visual cues
Technical Approach
Mood Selection Module: Each emoji is clickable and triggers a background change and motivational quote using JS 'dataset' attributes and event listeners
Persistent Journal Storage: Journal entries and streak counts stored in 'localStorage' for data persistence across sessions
Streak Tracking Logic: Streak counter increments on valid journal submission, with motivational messages after reaching 7 days
Front-end Design: CSS flexbox, hover effects, and transitions for responsive and interactive UI
Outcomes
Fully interactive web app with real time feedback
Persistent journaling ensures data retention without a backend
7-day streak system motivates continuous engagement
Architecture is scalable for future AI features (e.g., mood predictions)
Skills Demonstrated:
1. Understanding Event Driven Programming
Learned how user actions (clicking buttons, selecting moods) trigger specific responses in the app.
Used event listeners to make the application interactive.
Managed simple state variables like selectedMood and streak to control behavior.
2. Working with the DOM (Dynamic Web Updates)
Used JavaScript to update the page without refreshing it.
Changed backgrounds and displayed quotes based on the selected mood.
Highlighted the selected emoji to give users visual feedback.
3. Storing Data in the browser
Used localStorage to save journal entries and streak counts.
Retrieved stored data when the page reloads.
Ensured users don’t lose their progress after closing the browser.
4. Building logical flow and validation
Designed the 7-day streak system using conditional logic.
Added checks to ensure a mood is selected before saving an entry.
Structured the program flow to guide users clearly.
5. Designing for User Experience
Created a feedback loop (mood → background → quote → journal → streak).
Used hover effects and transitions to make the interface engaging.
Thought about how small design choices affect user motivation.
6. Thinking about future AI Possibilities
Recognized that journal entries could be analyzed using sentiment analysis.
Considered how mood trends could be tracked over time.
Designed the structure so future features could be added easily.
The UX Design Process:
What I Did
Desktop Research
Ideation
Usability Testing
Development
Refinement
Tools Used
Figma
About Dynamic Mood Tracker
Dynamic Mood Tracker is an interactive web app built with HTML, CSS, and JavaScript that allows users to select their emotions and log their thoughts in a personal journal. The background dynamically changes based on the selected mood, creating an immersive and visually engaging experience. It also includes a 5-day streak feature to encourage consistent mood tracking and reflection.
UX Research Goals
Encourage daily self-reflection: Allow users to track their moods and journal their thoughts, promoting mindfulness and emotional awareness.
Enhance engagement through interactive design: Use dynamic mood-based backgrounds, emoticons, and streak tracking to make the experience visually appealing and motivating.
How I conducted Desktop Research
I conducted desktop research by gathering and analyzing existing sources such as articles, reports, and case studies from websites such as Reddit, Quora and Medium relevant to the project. This helped me identify trends, understand user needs, and inform design decisions without the need for direct fieldwork.
I then conducted surveys to gather direct feedback from users. Five participants completed the survey, sharing their experiences and preferences. For example, 3 out of 5 participants said they found navigation on online learning platforms confusing, 4 out of 5 preferred a clean, minimal interface, and 2 out of 5 suggested adding a progress tracker. These responses helped validate insights from my desktop research and highlighted specific areas for focus in the project.
Conducting Usability Testing
Next, usability testing was conducted by seeking input on the sketches and early designs from potential users. This process helped identify areas for improvement before development and ensured the app would be intuitive and engaging.
Participant 1: Noted that the color-changing backgrounds made the experience fun and easy to understand.
Participant 2: Found the journal section simple and inviting but suggested adding reminders or prompts to encourage daily entries.
Participant 3: Mentioned that the emoticons were cute and intuitive for selecting moods quickly, recommending labels under each one for clarity.
Ideation
I then conducted ideation by brainstorming and sketching multiple design solutions based on the insights gathered from desktop research and user surveys. I used techniques like rough sketching to explore different layouts, features, and user flows, aiming to address the pain points identified and enhance the overall user experience.


Final Designs
Finally, I started the development stage by turning my designs into a functional prototype and implementing the changes suggested. During coding, I faced two main challenges: first, debugging inconsistent behavior in interactive elements, which I resolved by carefully tracing the code and isolating problematic functions. Second, implementing dynamic content updates without breaking the layout proved tricky, so I overcame this by using modular code and testing each component individually. These solutions ensured a smooth, responsive, and user-friendly prototype.
I used HTML to structure the content of the prototype, creating sections, headings, images, and buttons to reflect the design layout. CSS was applied to style these elements, ensuring consistency with the visual design and improving user experience. I also used JavaScript to add interactivity, such as clickable buttons, dynamic content updates, and progress tracking, making the prototype functional and engaging for users.